Verna's Bedspread by Kathleen Whiting, Whitnee North &Natalia Bonner.

Materials Needed:
4 Yards Bella Solids Bleached White
1/3 Yard Verna Sprout Budding Green
1 Yard Verna Sprout Budding Pink
2 Yards Verna Clover Earth

(These are the prints that we used for the additional fat quaters.)

From your three fat quarters you will cut 6, 10" squares.

From your Bella Solids white material you will cut 32 - 2"xWidth strips.
Then cut 15 - 3" strips.

Cut the 3" strips into 196 - 3" blocks.
Take those 3" blocks and draw a diagonal line across them.

As shown in the image above.

Now take all of your 10" squares and snowball them.
You will add the 3" squares and stitch across the diagonal line as shown in the image above.

Trim the corners of the blocks.

Lay your quilt out as show in the image below.

Press the block corners.

Blocks should look like the one above.

Now from your 2" white strips you will cut 42 - 10" strips.

Using your strips sew your blocks together as shown in the image above.

Now sew the rows together, as shown in the image above.

My appilque tip.
I like to applique in small pieces.
The less background the better my applique will turn out.
So, first I applique the green centers to the pink flowers.
Then I add to the smallest sections.
As shown in the image above.

Sew the rest of the quilt top together.
Use one strip of sashing for your outer border.

Now you will create the top portion.
For the top section you will add a 10" border.
then add one 1" pink (finished .5") strip
then a 3" white strip (cut 3.5")
then a 1" pink (finished .5") strip.
As shown in the image above.
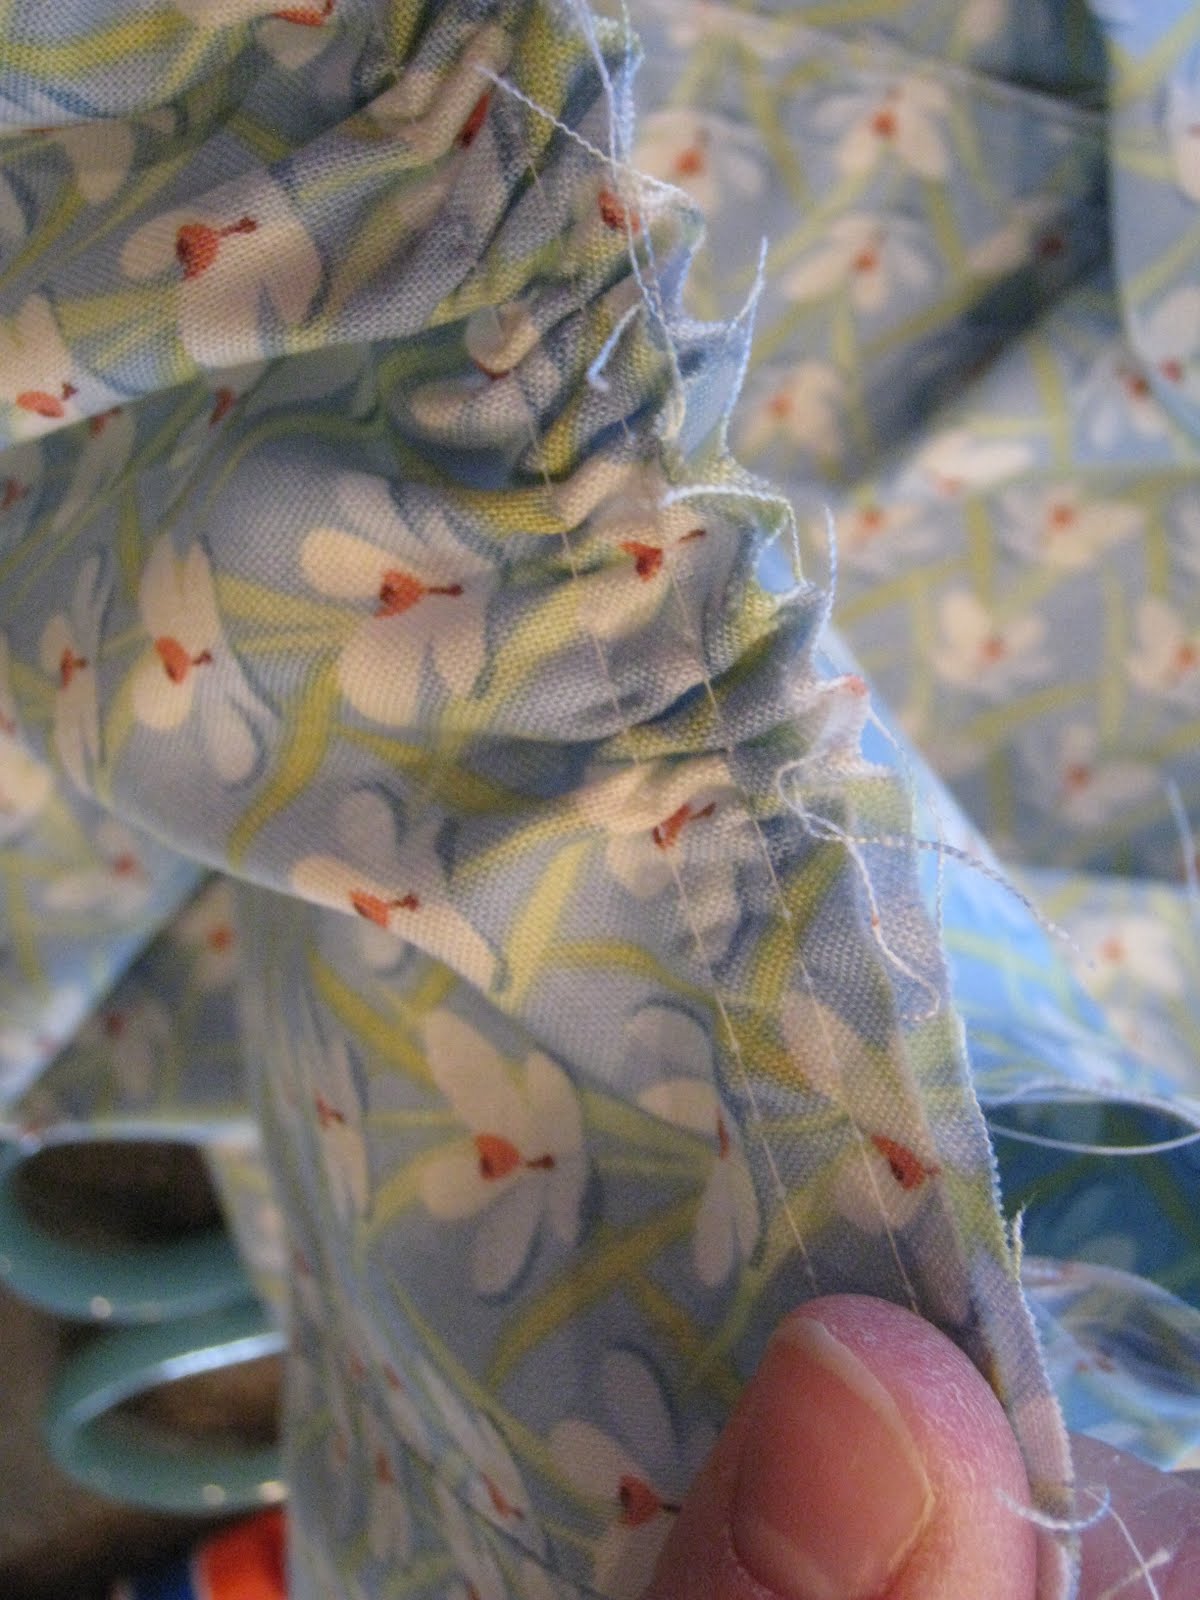
For your ruffle you will cut 6 - 12"xWidth strips. Sew those strips together end to end. Then you will ruffle the stirps.
To ruffle you will
First, fold the really long strip in half lengthwise and press in half.
Then you will set you stitch length on the longest stitch.
Stitch two rows approx 1/4" apart.
As shown in the image below.
Then you will take the two bobbin threads and start pulling them.
Slowly work the fabric into a ruffle that is the correct width of your quilt top.
Now you will add this ruffle to the bottom of your upper section.
Then add to the top of the bottom section.

Now quilt, bind and enjoy.
Stop back by tomorrow to learn how to make those darling pillows.

Here are a few pictures of how I machine quilted this quilt.
Upper section.
Main area of the quilt.

Close up of blocks.

Hope you enjoy.
Don't forget to get your Verna fabric @ Piece N Quilt!
Thanks.
I also linked to this post over @ Amy's Sew & Tell Fridays!

Don't miss our sale @ Piece N Quilt!
For more fun updates sign up for Piece N Quilts newsletter.
Leave a comment, we'd love to hear from you.
~Natalia


